Find the one bottleneck killing your revenue.
30-minute free strategy call with Charles. We diagnose your highest-leverage AI bottleneck, install Charlie OS live on your Mac or Windows in one hour, and map your exact next 30 days, all on the same call.
Most people still believe you need a creative team to make cinematic ads for your business. A videographer. A director. A motion graphics person. Maybe a drone pilot.
I’m Charles Dove, and I’m here to tell you that’s dead wrong.
You can create cinematic AI video ads that actually look good. Low budget. High quality. And honestly, it’s fun to make.
I broke this down into three simple steps on my YouTube channel @charlieautomates. And I’m going to walk you through the whole thing right here.
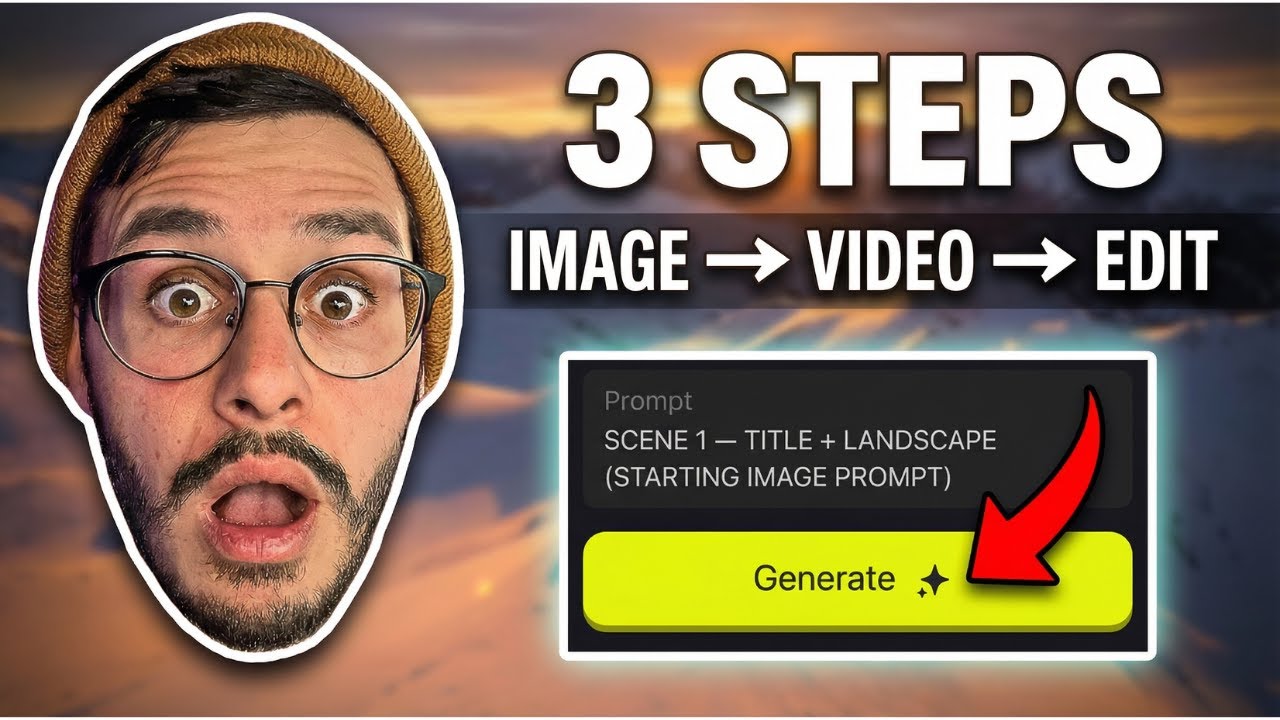
Here are the three steps:
- Create the starting images
- Generate the AI videos
- Edit the final video
That’s it. Three steps. No film school required. Let me break each one down.
What You’ll Need
Before we jump in, here’s your toolkit:
- ChatGPT (with image generation, like DALL-E or a custom GPT)
- Higsfield AI (for AI video generation)
- A video editor (Descript, CapCut, DaVinci Resolve, whatever you prefer)
- Canva (optional, for background removal on logos)
You don’t need paid subscriptions for all of these. I used free tiers where I could. The goal is to keep costs low while making something that looks like it cost thousands.
Step 1: Create the Starting Images
This is your foundation. Every cinematic ad starts with a strong image.
I opened my custom GPT and gave it a simple prompt. Nothing crazy. I said something like: “Cinematic drone view of a guy at the top of a hill. He’s a snowboarder and he’s prepping to hit the slope.”
That’s it. Basic. Descriptive. Clear.
I used Nano Banana Pro inside ChatGPT. Clicked “unlimited” because it’s free. Set the aspect ratio to 16:9 because we want that widescreen cinematic look. Then I let it run.
Generate Multiple Options
Here’s the key. Don’t just generate one image and call it done. I generated four different images from four different prompts. Then I picked the best one to move forward with.
You want options. AI image generation is good but it’s not perfect every time. Give yourself choices.
Create Your Product Image
I also needed a product image for my ad. In this case, it was a beverage brand called “Extreme Sync.” So I opened another chat and prompted it to create the product.
One thing I did that was smart: I asked it to create a horizontal version of the logo separately. Why? Because I needed the logo as a standalone asset for the edit later.
I clicked “edit” and put in my prompt for just the logo words, no can. That gave me the clean logo I needed.
Stay Organized
Here’s a tip that’ll save you headaches. Create a folder for your cinematic ad project. Inside it, organize everything:
- Product image (your product shot)
- Starting image (your main scene image)
- Logo (the vectorized, standalone logo)
Logo. Product. Starting image. Keep it simple. Don’t overcomplicate this part. Because we’re done with step one now.
Step 2: Generate the AI Videos
Now that we have our images, the real magic happens. We’re going to use ChatGPT to plan our scenes, then Higsfield AI to bring them to life.
Plan Your Storyboard with ChatGPT
Go back to ChatGPT and ask it for storyboard ideas. I said: “Can you give me four different storyboard ideas?”
Then I narrowed it down. I wanted five scenes total. So I picked the storyboard I liked best and asked ChatGPT for specific prompts for each scene.
Here’s where it gets smart. I told ChatGPT to reference “image one” (the starting image) and “image two” (the product) in the prompts. That way, I’d know exactly which image to upload for each scene when I got to Higsfield.
The storyboard I went with was called “Sync the Moment.” Five scenes. Each one mapped to a specific visual prompt.
Generate Videos in Higsfield AI
Now take your starting image and plug it into Higsfield AI. Here’s my setup:
- Upload your starting image
- Paste the scene prompt from ChatGPT
- Use the fast model (saves time, still looks great)
- Keep resolution at 1080p
- Make sure the aspect ratio matches your image (16:9 for cinematic)
- Hit generate
Then repeat for each scene. Copy the prompt, paste it, use the same starting image. Do this for all five scenes.
Pro Tips for Better Results
Be strategic with prompting. I realized that I didn’t want the product can or logo appearing in the first couple of scenes. Why? Because if AI generates a graphic in the video, it’s hard to remove later. I’d rather add the logo myself in the editor where I have full control.
You don’t have to use the full clip. This is huge. Each scene Higsfield generates is about 8 seconds. But you might only need the first 2 seconds. Or just the last 3 seconds.
AI video is never going to be perfect. But it doesn’t have to be. For example, one of my clips had the AI “pouring water into the can.” That makes no sense. You didn’t see that in my final video. I just used the portion before the AI glitched out.
You can splice it however you need. Don’t feel stuck using the entire generated clip.
It might take a few tries your first time. That’s normal. You’ll get faster with practice.
Ask ChatGPT for Music Suggestions
Before you move to editing, ask your ChatGPT model what kind of music would fit the video. It already has context about what you’re creating since it wrote all the prompts. It’ll give you solid suggestions for the vibe you’re going for.
Step 3: Edit the Final Video
This is where everything comes together. I used Descript for this tutorial. Are there better editors out there? Sure, probably 110 of them. But use whatever you’re comfortable with. CapCut, DaVinci Resolve, Premiere Pro. It doesn’t matter.
Upload and Organize Your Scenes
Upload each scene into your editor. Make sure they’re named correctly (Scene 1, Scene 2, etc.) so you can plug and play.
Also upload your logo. If your logo has a white background, here’s a quick fix:
- Open Canva
- Upload the logo image
- Use the background remover tool
- Download with transparent background selected
Now you’ve got a clean, vectorized logo with no background. You can overlay it on any scene without that ugly white box.
Arrange and Trim
Start by plugging all scenes in sequentially. Then make decisions:
- What goes where? Your storyboard gives you a starting order, but feel free to rearrange.
- How long should each scene be? I kept most clips to 2-3 seconds. Short. Punchy. Cinematic ads move fast.
- Cut the glitchy parts. If a clip gets weird halfway through, split it. Use only the good portion.
One of my clips, I made it literally 2 seconds. Another one I split because there was a glitchy section in the middle. The last scene was 8 seconds long but I only used the latter part.
Here’s the thing that matters: in none of my scenes did I use the full 8 seconds that Higsfield generated. Every clip got trimmed down to only the best moments.
Add Your Logo Overlay
Drop your transparent logo image onto the timeline. Position it where it makes sense in the ad. Usually toward the end for the brand reveal moment.
Add Music and Audio Effects
Search for music that fits the vibe. Most editors have stock music libraries built in. Find something cinematic, dramatic, or whatever matches your brand.
Then add audio effects. I used simple fades in and out. Nothing fancy. Just enough to make the transitions feel smooth.
Export and You’re Done
That’s literally it. Export your video and you’ve got a cinematic AI ad that looks like it cost thousands to produce.
The Full Workflow at a Glance
Here’s the entire process summarized:
| Step | What You Do | Tool |
|---|---|---|
| 1a | Generate starting images from prompts | ChatGPT (DALL-E / Nano Banana Pro) |
| 1b | Generate product and logo images | ChatGPT |
| 2a | Create storyboard with 5 scenes | ChatGPT |
| 2b | Generate prompts for each scene | ChatGPT |
| 2c | Create AI video clips from each prompt | Higsfield AI |
| 3a | Upload, arrange, and trim clips | Video Editor |
| 3b | Overlay logo with transparent background | Canva + Video Editor |
| 3c | Add music and audio effects | Video Editor |
Why This Matters for Your Business
If you’re a business owner or agency running ads, this changes the game. You can produce professional-looking video content without:
- Hiring a creative team
- Renting expensive equipment
- Spending weeks in post-production
- Dropping thousands on a single ad
At CC Strategic, we help business owners and agencies build systems like this. AI video is one piece of the puzzle. The real power is combining it with automation workflows so you can produce content at scale.
Think about it. What if you could create a new cinematic ad for every product, every campaign, every season? In an afternoon instead of a month?
That’s the kind of output Charlie Automates is all about.
Common Mistakes to Avoid
Don’t over-prompt the first image. Keep it simple and descriptive. “Cinematic drone view of X doing Y” works better than a 500-word essay.
Don’t try to get the logo perfect in AI generation. Generate it separately. Remove the background in Canva. Add it manually in your editor. You’ll have way more control.
Don’t use the full AI clip. Trim aggressively. Use only the 2-3 seconds that look best from each generation.
Don’t skip the storyboard step. If you just randomly generate scenes without a plan, they won’t flow together. Let ChatGPT help you think through the narrative arc.
Don’t expect perfection on the first try. AI video generation requires iteration. Generate, evaluate, regenerate. It gets faster every time.
FAQ
What is Higsfield AI?
Higsfield AI is an AI video generation platform. You upload a starting image, give it a text prompt describing the motion you want, and it generates a short video clip. It’s great for creating cinematic-style footage without a camera.
Is Higsfield AI free?
Higsfield offers free generations with some limitations. For this tutorial, the free tier was enough to create all five scenes. You might need a paid plan if you’re doing high volume production work.
Can I use a different AI video generator instead of Higsfield?
Yes. The workflow is the same regardless of which AI video tool you use. Runway, Pika, Kling, Sora. They all take an image plus a prompt and give you video output. The prompting strategy and editing process stays identical.
What aspect ratio should I use for cinematic ads?
16:9. That’s the standard widescreen ratio you see in movies and professional video content. It gives you that cinematic, premium look. Make sure your starting images and your video generation settings both match this ratio.
Do I need video editing experience?
No. The editing in this workflow is very basic. You’re trimming clips, placing them in order, dropping a logo on top, and adding music. Any free editor like CapCut or DaVinci Resolve can handle this. If you can drag and drop, you can edit this video.
How long does the whole process take?
Your first time, maybe 1-2 hours including learning the tools. Once you’ve done it a couple times, you can knock out a full cinematic ad in under 45 minutes. The image generation and video generation steps take a few minutes each. Editing is where you’ll spend the most time.
Can I use this for client work?
Absolutely. This is perfect for agencies creating ad content for clients. Generate custom product ads, brand videos, or social content without the overhead of a full production shoot. Just make sure you’re using the client’s actual branding and products in your prompts.
What if the AI generates something that looks weird or glitchy?
That’s normal. Don’t panic. You have two options: regenerate the scene with a slightly adjusted prompt, or just use the portion of the clip that looks good. Most AI-generated clips have at least 2-3 seconds of usable footage. Trim around the imperfections.
How do I remove the background from my logo?
Upload the logo to Canva. Use their background remover tool. When you download it, select “transparent background” as the export option. You’ll get a PNG with no background that you can overlay on any video scene.
What kind of music works best for cinematic AI ads?
It depends on your brand and product. For action or sports products, go with dramatic or bass-heavy tracks. For lifestyle brands, try ambient or lo-fi. Ask ChatGPT for suggestions since it already knows your storyboard and can recommend specific genres or moods.
Start Creating Today
This workflow is proof that you don’t need a big budget to create high-quality video ads. AI tools have made it possible for anyone to produce cinematic content.
The three steps are simple. Create your images. Generate your videos. Edit the final product. That’s the whole playbook.
If you want to learn more workflows like this, subscribe to @charlieautomates on YouTube for weekly tutorials on AI automation and content creation.
Ready to go deeper? Join CC Strategic AI on Skool to get access to my custom GPTs, workflow templates, and a community of builders who are doing this stuff every day. Go make something cinematic. I’ll see you on the next one.
Ready to install Charlie OS?
Stop reading. Start shipping.
The AI Bottleneck Protocol is a 30-minute free call. We pinpoint the one task eating the most hours and the most money in your business right now. We install Charlie OS live on your machine in under an hour. We map your exact path to fix the bottleneck on the same call. If we’re not a fit, you walk away with a clear diagnosis of where your business is leaking time and money. Either way, you win.