Find the one bottleneck killing your revenue.
30-minute free strategy call with Charles. We diagnose your highest-leverage AI bottleneck, install Charlie OS live on your Mac or Windows in one hour, and map your exact next 30 days, all on the same call.
Most AI video tools give you random clips. No story. No flow. Just disconnected shots that look cool for about two seconds.
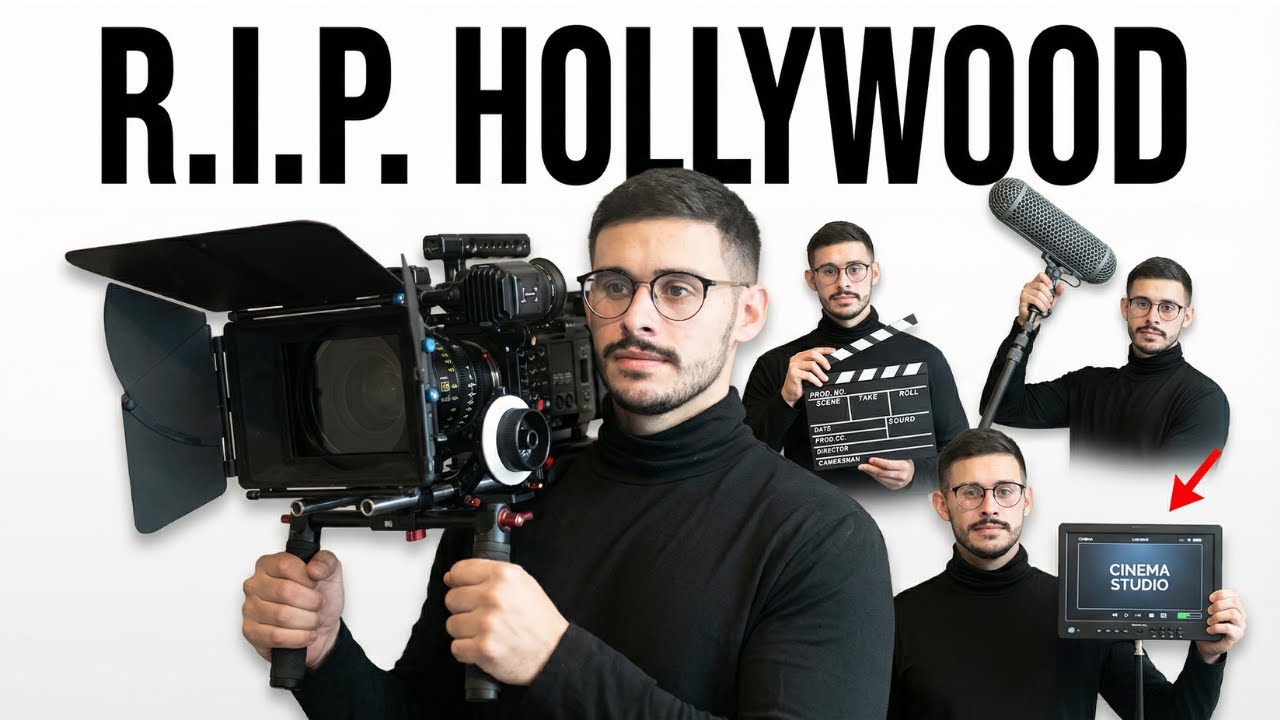
Higgsfield AI’s Cinema Studio is different. I used it to create a full cinematic video, a Stranger Things-inspired sci-fi sequence, and the results were genuinely impressive. I’m Charles Dove, and I’m going to walk you through exactly how I did it.
Why Higgsfield Cinema Studio Caught My Attention
I’ve tested a lot of AI video generators. Most of them are great at producing single shots. But the moment you need multiple scenes that connect into a story, everything falls apart. Characters change. Environments shift. Nothing feels cohesive.
Higgsfield’s Cinema Studio solves this with a start-frame and end-frame workflow. You define the beginning and end of each scene visually. Then the AI fills in the motion between them. That means you get consistent characters, consistent environments, and real narrative flow.
The quality of the video is ultimately decided by the post-production work you put into it. AI has gotten very good at generating content for you. But slicing it up and engineering it in a way that tells a story? That’s still on you.
The Tools You Need
My workflow for creating cinematic AI videos uses three tools:
- ChatGPT for story structure and prompt generation
- Higgsfield Cinema Studio for image and video generation
- Descript (or any video editor) for post-production
I also use the Claude browser extension as an AI assistant that can see my screen. It helps me pick the best images and figure out which camera movements to use. You don’t need it, but it speeds things up.
Step 1: Create Your Story Framework
Everything starts with a story. Don’t just jump into generating random clips. That’s the mistake most people make.
I used a custom GPT to create my story outline. Here’s what I prompted:
- Create a cinematic story of four scenes
- Each scene is 10 seconds long
- Sci-fi theme, based off of Stranger Things
ChatGPT gave me the full story concept plus the four scene descriptions. Each scene had clear visual direction, character actions, and emotional tone.
This is the foundation. Without it, you’re just making pretty noise. With it, you’re building something that actually holds attention.
Why Four Scenes?
Four scenes at 10 seconds each gives you a 40-second cinematic piece. That’s long enough to tell a compelling micro-story. Short enough to keep people watching. And most importantly, it’s manageable to produce. You’re not generating 50 clips. You’re generating four intentional sequences.
Step 2: Generate Your Starting Images
Once you’ve got your story, you need starting images for each scene. These are the first frames, the visual anchors that everything else builds from.
Here’s my process for Scene 1:
- Ask ChatGPT for a starting image prompt (referencing your story and your reference photo)
- Go to Higgsfield Cinema Studio’s image generation
- Paste the prompt and your reference image
- Click generate
If you want variations, run the prompt four times with slightly different wording. Pick the one you like best. You can even ask Claude’s browser extension, “Hey, which one do you like best on my screen?” It’ll give you a recommendation based on the story context.
For Scene 1, I used my own photo as the reference image. The prompt described me as worn out, looking like I’d been in battle. Stranger Things vibes, right?
Pro Tip: Compress Your Prompts
Here’s something I learned the hard way. Sometimes the prompts from ChatGPT are too long for Cinema Studio. If you see the text getting cut off, go back to ChatGPT and ask it to create a compressed version. Same intent, fewer words. Problem solved.
Step 3: Create End Frames for Each Scene
This is where the magic happens. And where things can get a little confusing if you’re not paying attention.
The end frame of each scene needs to connect visually to the start frame of the next scene. Here’s the chain:
- Scene 1: Starting image only (no end frame needed for the first scene)
- Scene 2: Starting image created from Scene 1’s ending. End frame created from Scene 2’s starting image.
- Scene 3: Starting image created from Scene 2’s end frame. End frame created from Scene 3’s starting image.
- Scene 4: Same pattern. Starting image from Scene 3’s end frame.
The pattern is simple once you see it. The end frame of one scene becomes the reference for the starting image of the next. That’s what creates visual continuity across your entire video.
The Frame Chain Process
Let me break this down step by step:
- Take Scene 1’s starting image, generate the video
- Take the final frame from Scene 1’s video
- Plug that into ChatGPT with your reference photo
- Ask it to create a starting image prompt for Scene 2
- Generate Scene 2’s starting image in Cinema Studio
- Take Scene 2’s starting image, ask ChatGPT for an end frame prompt
- Generate Scene 2’s end frame
- Repeat for Scene 3 and Scene 4
It’s a linear process. Each step feeds the next. If you do a good enough job of feeding the images back into ChatGPT, it already has the story context. Even if it didn’t see every image, it understands how the story should flow.
Step 4: Choose Your Camera Movements
Higgsfield Cinema Studio gives you different camera movement options. This is where having an AI assistant helps.
I used Claude’s browser extension to figure out which camera movement fit each scene. For Scene 1, the recommendation was “dolly in” because it matched the mood of the shot, a close approach to a battle-worn character.
You can also ask ChatGPT which camera movement makes sense based on the scene description. Different movements create different feelings:
- Dolly in: Creates intimacy, draws the viewer closer
- Pan: Reveals the environment, builds scope
- Tracking shot: Follows action, creates energy
- Static: Lets the scene breathe, builds tension
Pick the movement that serves the story. Not the one that looks coolest.
Step 5: Verify Your Story Flow
Before you move to editing, do a sanity check. Feed all your generated images back into ChatGPT and ask: “Does this sequentially make sense based off of the story we created together?”
It’ll probably say, “Yeah, buddy, you did great.” Push back. Ask, “Does it though?” Get it to actually evaluate the visual narrative.
Give it your own look-over too. Trust your gut. If a transition feels off, regenerate that frame. It’s better to fix it now than to deal with it in post.
Step 6: Edit and Sync to Music
Download all your generated videos. Bring them into your video editor. I use Descript, small subscription, nothing fancy. I’m not a professional video editor. I just do what I need to do to get it done.
Here’s my editing workflow:
- Upload all the videos
- Place them in the right scene order
- Find a song that fits the mood
- Listen to the beats
The one editing tip that matters most: follow the beat. When the beat hits, switch to the next scene. That’s it. That single technique makes your cuts feel intentional instead of random. It turns a collection of AI clips into something that feels produced.
The Stranger Things-inspired video I created at Charlie Automates came out looking legitimately cinematic. And the total editing time? Minimal. Most of the work was in the generation phase.
What Makes Higgsfield Different from Other AI Video Tools
I’ve used a lot of AI video generators at CC Strategic. Here’s what sets Cinema Studio apart:
Start and end frame control. Most tools give you a prompt and generate whatever they want. Higgsfield lets you define the beginning and end of each shot. That control is everything when you’re building a narrative.
Image generation built in. You don’t need to bounce between three different platforms. You can generate your reference images right inside Cinema Studio.
Character consistency. Because you’re feeding reference images throughout the chain, your character stays consistent across scenes. No random face swaps. No outfit changes mid-story.
Camera motion presets. Dolly, pan, tracking, all built in. Pick the one that fits and generate.
How to Use Cinematic AI Videos in Your Business
This isn’t just a party trick. There are real business applications for cinematic AI video:
Social media content. A 40-second cinematic piece grabs more attention than another talking head clip. Use it for brand storytelling on Instagram Reels, TikTok, or YouTube Shorts.
Client presentations. Imagine opening a pitch with a custom cinematic sequence that demonstrates your client’s vision. That’s a different level of engagement.
Course content. If you’re building educational material, cinematic intros and transitions keep students engaged.
Product launches. Create hype videos without hiring a production crew. Generate them in an afternoon.
Ad creative. Test different visual concepts fast. Generate five versions and see which one performs.
My Honest Take on Higgsfield Cinema Studio
I think it’s super sick. There are a million and ten ways to use it. It’s ultimately up to how creative you want to be with your creation process and how well you can prompt.
The learning curve is real but short. It takes a little knowhow, a little tinkering. But once you get it, you got it. The frame chain process is the hardest part to wrap your head around. After your first video, it becomes second nature.
The quality depends on your prompting and your post-production effort. AI gives you the raw material. You shape it into something worth watching.
If you’re trying to make cinematic AI content in 2026, this is the process I use on my YouTube channel @charlieautomates. Try it. You’ll be surprised at what you can produce.
FAQ
Is Higgsfield Cinema Studio free?
Higgsfield AI offers different pricing tiers. Check their website for the latest plans. The image and video generation features discussed in this post are part of their Cinema Studio product.
Do I need video editing experience?
No. I’m not a professional video editor and I produced the Stranger Things-inspired cinematic piece without advanced editing skills. A basic editor like Descript is all you need. The main technique is syncing scene transitions to the beat of your music.
How long does it take to create a cinematic AI video?
Plan for a few hours on your first attempt. Most of the time goes into generating and iterating on images. The actual editing is quick. Once you’ve done it once, subsequent videos go much faster.
Can I use my own face or likeness in the videos?
Yes. I used my own photo as the reference image for the main character. Higgsfield Cinema Studio maintains character consistency when you feed reference images throughout the frame chain.
What if ChatGPT prompts are too long for Cinema Studio?
This happens. Just ask ChatGPT to create a compressed version of the prompt. Same intent, fewer words. Cinema Studio has a character limit on prompts, so shorter is better.
Do I need the Claude browser extension?
No. It’s optional. I used it to get recommendations on which images and camera movements looked best. You can make those decisions yourself or just use ChatGPT for the same purpose.
How many scenes should I create?
I recommend starting with four scenes at 10 seconds each. That gives you a 40-second video, which is ideal for social media. You can scale up once you’re comfortable with the workflow.
Can I use this process with other AI video tools?
The story framework and frame chain concept works with any AI video generator that supports start and end frame inputs. The specific UI steps will differ, but the strategy is universal.
What’s the best way to learn this workflow?
Watch the full tutorial on my YouTube channel @charlieautomates where I walk through every click in real time. Then try it yourself. The first attempt teaches you more than watching ten tutorials.
Ready to install Charlie OS?
Stop reading. Start shipping.
The AI Bottleneck Protocol is a 30-minute free call. We pinpoint the one task eating the most hours and the most money in your business right now. We install Charlie OS live on your machine in under an hour. We map your exact path to fix the bottleneck on the same call. If we’re not a fit, you walk away with a clear diagnosis of where your business is leaking time and money. Either way, you win.